
to beat the heat is shown below: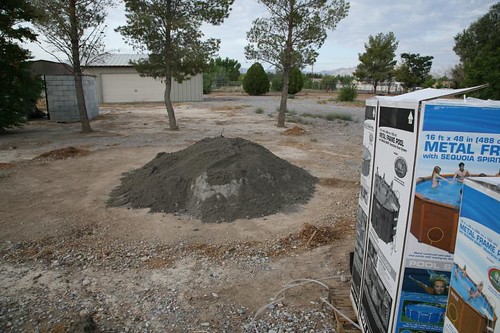
Yes, I know. Your saying that's just a pile of sand with a pool in a box sitting next to it!
But you have to have imagination. Another home owner, here in Pahrump, has an old commode sitting in their yard on a pile of dirt as a decoration. Yes people, its that kind of town! It inspired me though. I imagined our old commode sitting atop the pile of sand. While sipping a Corona, and enjoying the fine mist of cool, refreshing water from the lawn sprinkler, I would gaze into the pool picture on the box and dream of floating around drinking an ever full Corona!
Needless to say, Karen did not share my enthusiasm for that idea! So I did what I had to, I put the pool up.
The pile of sand in the above picture is 4 tons. The store recommended 2 tons for our size pool, but after seeing what 4 tons of rock looked like, I did not think that was enough so I told Karen to get 4 tons.
I started about 6:30AM on Saturday. 2 Hours later it looked like this: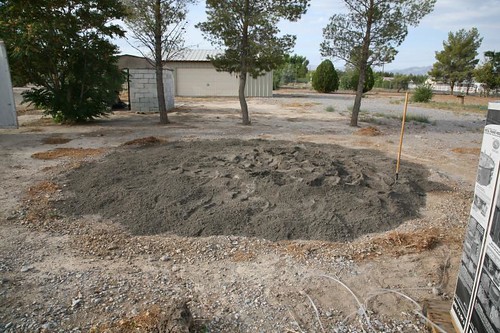
Our first dilemma came when we tried to install the blocks that go under the support rails. The manual called for blocks that were 18"X18" and 2" thick. Well, no one in Pahrump, or maybe anywhere else, sells 18"X18" blocks. The closest size available were 12"X12". On the surface, no a big deal. Or so you would think. We thought "Ok. No problem. We will just move the blocks in 3" to keep them centered." Well what we soon realized was that all of the math changed as well. How far to space the blocks from each other and how far to space them from the center point of the pool all changed from what was given in the manual. After a few attempts at trying to decipher the math we gave up and decided to cheat.
We "pre assembled" the to rail and then placed the blocks where they should be.
Also note the aprox 2 tons of extra sand sitting all around the edge of the pool!!
Getting the blocks was fun too. I asked Karen to get 16 of the blocks. She started at home depot and explained to the 2 guys working there that we were putting up a pool and we needed the blocks to go under it. Both the guys there we alarmed right away. They had both put up pools similar to ours and told Karen that they never used any blocks under the pool. She told them thats what the instructions said to do. What Karen didn't realize was that the block just went under the posts, not the pool. Those 2 guys were looking at her like she was crazy!
Thats the nice thing about our Home Depot here in Pahrump. Most of them have been through what you are trying to accomplish and can offer good advice.
Trying to level the sand: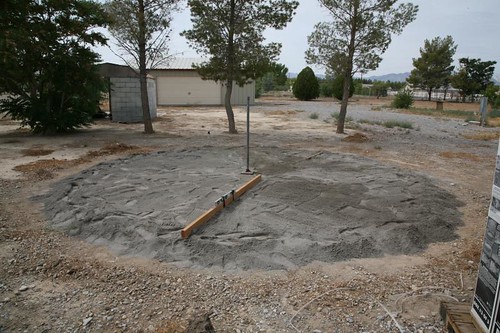
This is the basic method described in the instruction manual to level the sand. We found it rather useless so we came up with a different method.
We simply leveled each block to one another. Then we just eye balled the sand inside the pool area and made it nice and flat.
Once the blocks were laid, the rest went pretty quick.
We then spread the very thin "pad"(think tarp) that goes under the pool to protect it. I did not know that they had come so far in being able to produce thin tarps. You could almost see through it if you squinted the right way.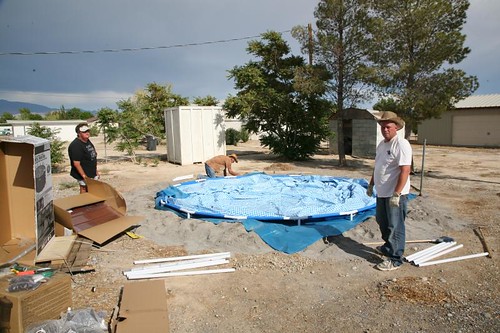
Here you can see us after having installed the top rail in the liner and just prior to raising the pool.
After getting the wrinkles out, it was time to add the water: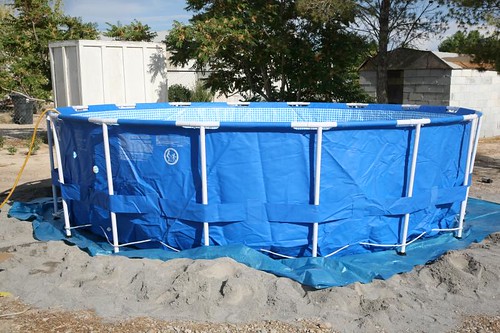
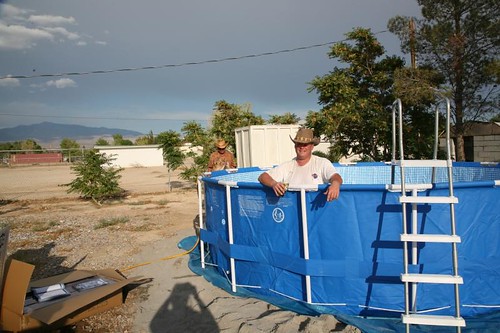
Here you can see me taking a break from getting the remaining wrinkles out.
The pool is nearly full now. I have begun to put the siding on it. I think the siding adds a nice "finished" look to the pool.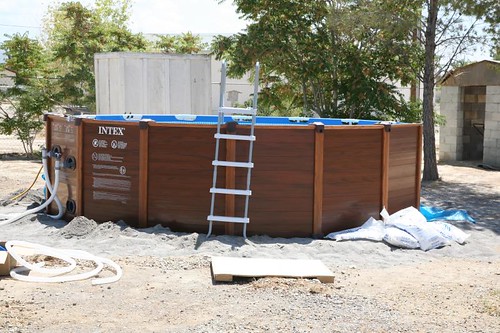
55% of Democrats Believe Vote Totals Were Tampered With
-
It appears that we have now moved on from the Russian connection with the
Wikileaks dump of DNC emails, to the science fiction that the Russians
actually t...
9 years ago


No comments:
Post a Comment